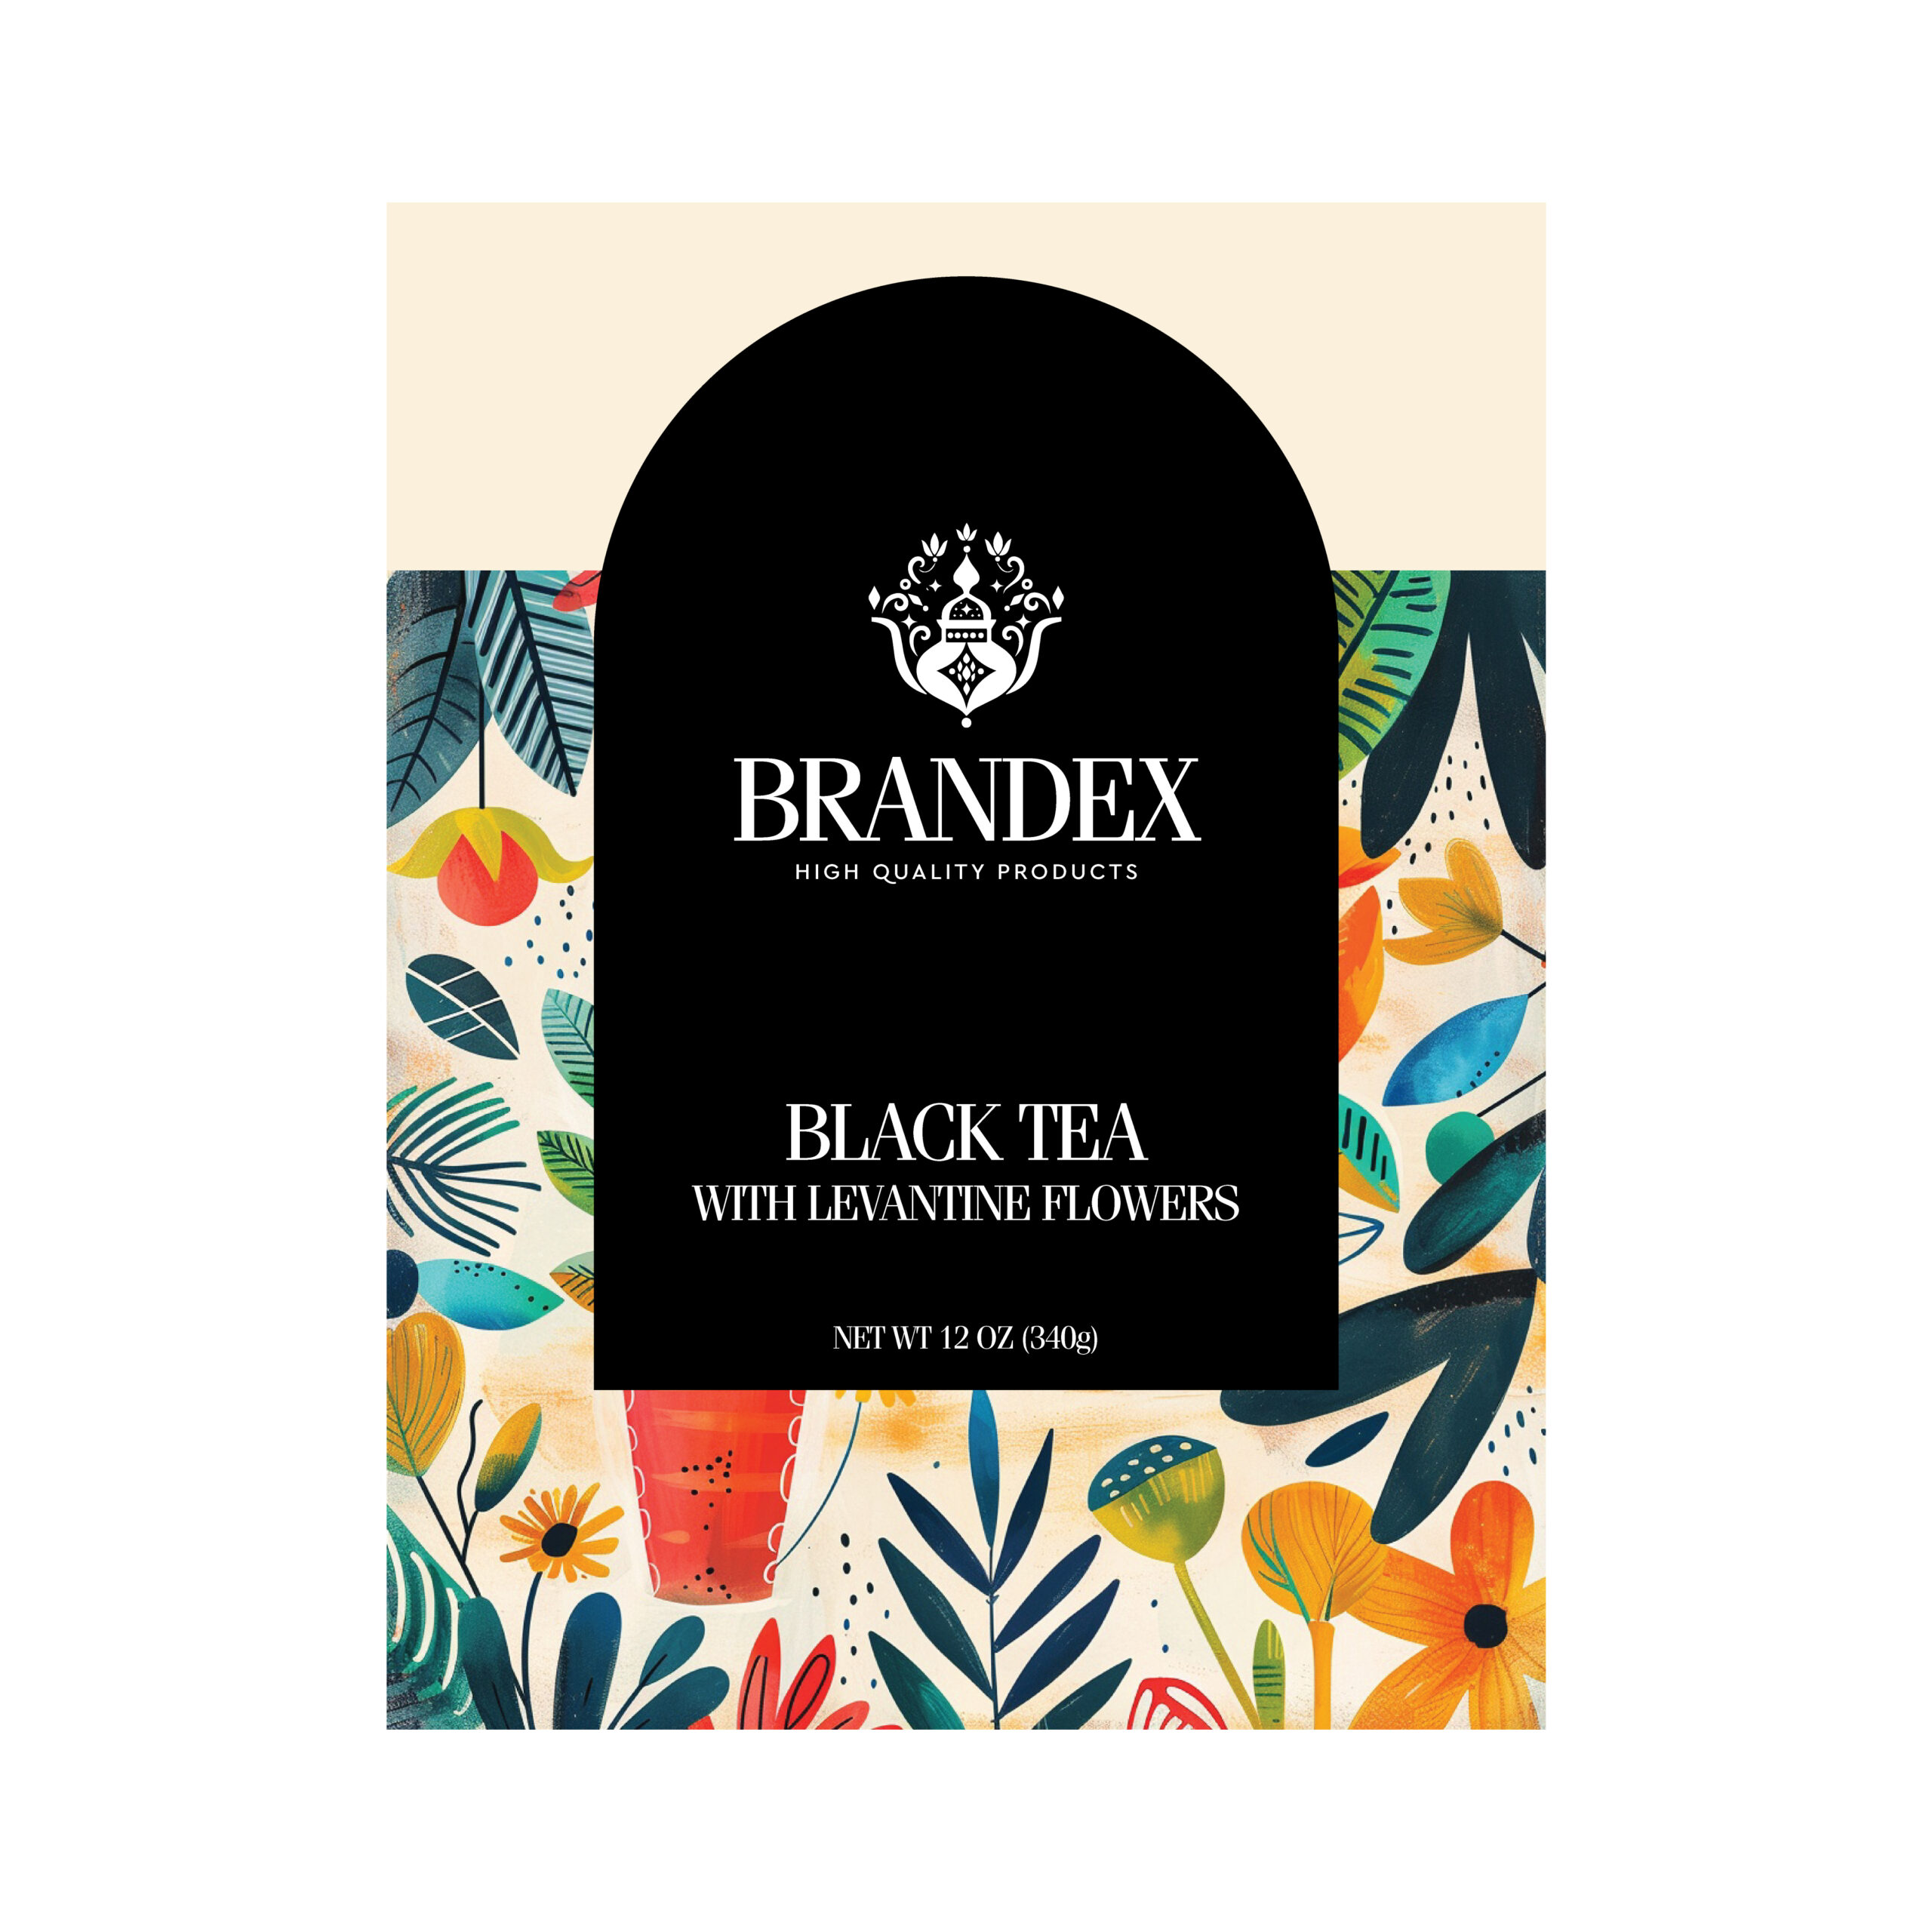

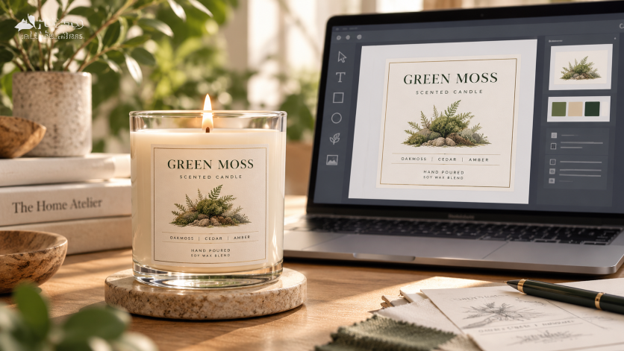
AI makes it easier than ever to create eye-catching product artwork, but an image that looks great on a screen may not automatically be ready for professional label printing. Learn how to prepare AI-generated artwork for print, avoid common issues with resolution, typography and color, and know when to ask a label expert for help.
AI has opened up a whole new world of creative possibilities for small to medium sized businesses.
Whether you’re developing a new beauty line, launching a specialty food product, refreshing a candle collection or simply experimenting with packaging concepts, AI image tools can help turn an idea into artwork faster than ever.
But there’s an important difference between creating an image that looks good on your screen and creating artwork that’s ready to become a professional product label.
The good news? AI-generated artwork can absolutely be part of your label design process. You just need to know what to look for before you send your file to print.
At Husky Labels, we’re here to help make that part easier.
Can You Use an AI-Generated Image on a Product Label?
Yes. AI-generated images can be used as part of a product label design, but the artwork may need additional preparation before it’s ready for professional printing.
Many AI tools create raster-based images made from pixels. Depending on the tool and export settings, you may receive files such as PNG or JPG rather than editable vector artwork.
That doesn’t automatically mean the image can’t be printed.
It does mean you’ll want to check the file’s resolution, dimensions, typography, color and overall design setup before placing an order.
For the cleanest print results, Husky Labels recommends vector-based artwork whenever possible and high-resolution files when raster imagery is used.
Not sure whether your AI artwork is ready? Talk to one of our Label Experts before you order.
1. Understand the Difference Between Raster and Vector Artwork
One of the first things to understand is whether your artwork is raster or vector.
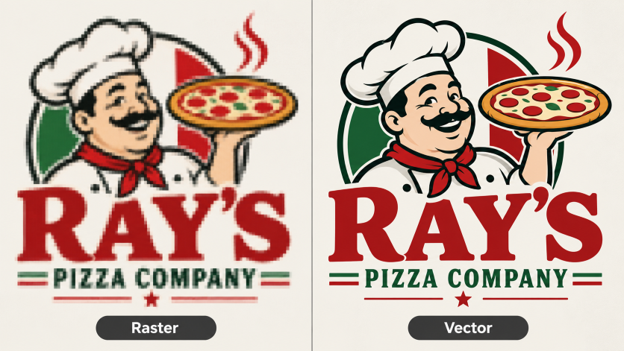
Raster artwork
Raster artwork is made from individual pixels. It works especially well for photography, detailed illustrations, textures, and other complex imagery.
Common raster formats include:
- PNG
- JPG or JPEG
- TIFF
- Adobe Photoshop (.PSD)
Raster artwork can produce beautiful, printed results when the file has enough resolution at the final label size. The challenge comes when a small or low-resolution image needs to be enlarged.
If raster artwork is stretched too far, individual pixels can become visible, making text, logos, or fine details look blurry, soft, or jagged.
Vector artwork
Vector artwork is built from scalable lines and shapes rather than pixels.
That makes it ideal for elements that need to stay especially sharp, including:
- Logos
- Typography
- Fine Lines
- Icons
- Simple Illustrations
Adobe Illustrator (.AI) and properly created vector PDFs are common vector formats.
Because vector artwork can be resized without losing sharpness, it generally gives printers more flexibility when preparing logos, lettering, and other precision elements for production.
Which should you use?
You don’t necessarily need to choose one or the other.
A professional label file may include both raster imagery and vector elements. For example, an AI-generated background or illustration may remain raster-based, while your logo, product name, and important text are added separately as crisp vector artwork.
If you’re unsure whether your file is ready for print, our Label Experts can review your artwork and help identify any adjustments that may be needed.
Do you have to convert every AI image to vector?
No.
Detailed illustrations, photography and complex AI-generated imagery don’t always need to be converted into vector artwork. The important question is whether the raster image has enough resolution for the actual size at which your label will be printed.
As a general guideline, Husky recommends high-resolution artwork of at least 300 DPI, with vector files preferred where appropriate. If you need help identifying if your creative is going to work, contact us.
2. Check the Resolution Before You Resize Your AI Image
One of the easiest mistakes to make is generating an image, downloading it, and then enlarging it dramatically to fit your label.
An image may look perfectly sharp on a laptop or phone but may lose detail once it’s enlarged for print.
Before designing the final label, determine:
- The finished dimensions of the label
- The pixel dimensions of your AI artwork
- The resolution at the final print size
- Whether important details remain sharp when the artwork is enlarged
For print artwork, 300 DPI at the final size is a good target, and Husky’s current Artwork Guide recommends files between 300 and 800 DPI.
If you’re unsure whether the resolution is high enough, that’s a great point to bring in a Label Expert rather than discovering the issue after your labels have been produced.
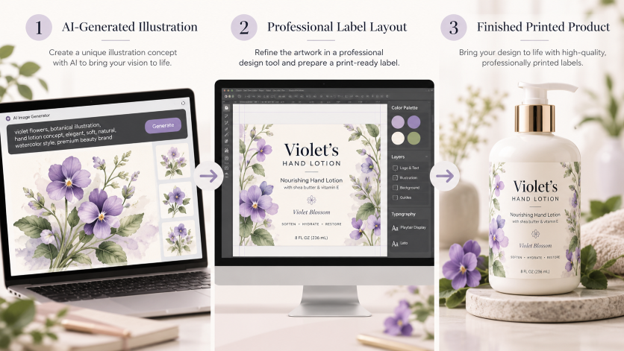
Alt Image Text: Process for preparing AI-generated artwork for professional product label printing
3. Be Careful With AI-Generated Text
AI is fantastic at creating visual concepts.
Typography can be another story.
AI-generated images may contain:
- Misspelled words
- Distorted letters
- Inconsistent fonts
- Unreadable small text
- Made-up words
- Text that is permanently embedded into the image
That’s why we recommend using AI primarily for visual concepts, backgrounds, textures and illustrations, then adding your final product copy using a professional design or layout program.
Your brand name, ingredients, instructions, product claims, net weight, contact information and other important copy should be entered as actual text whenever possible – not left as text generated inside an image.
Once your design is finalized, fonts can be converted to outlines to help ensure the typography prints as intended.
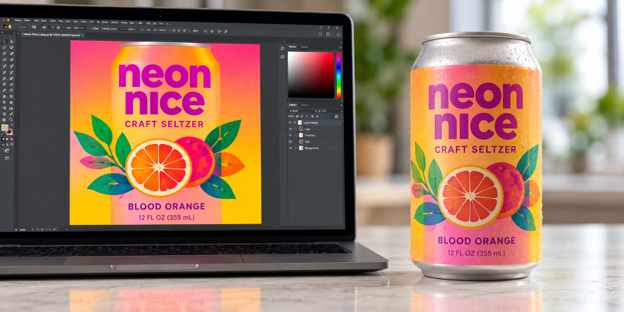
4. Remember That Screen Color and Print Color Are Different
That electric blue, ultra-bright pink or glowing neon green in your AI image may look incredible on a backlit screen.
Printing works differently.
Most digital images are created for screens using RGB color, while commercial print workflows, like Husky Labels, commonly use CMYK.
Because screens produce color with light and printed labels use physical inks, some colors cannot look exactly the same in both environments.
That can result in colors appearing:
- Less vibrant
- Darker
- Slightly muted
- Different from what you see on your monitor
Converting and reviewing artwork appropriately for print helps reduce surprises.
And when a particular brand color is critical, contact us before approving the final artwork.
5. Don’t Let AI Make Important Product Decisions for You
AI can help with design inspiration.
It shouldn’t be responsible for deciding what legally required information belongs on your product.
Depending on your product and industry, your label may need specific information such as ingredients, allergens, warnings, nutrition information, product identity, quantities or other disclosures.
AI tools can generate information that sounds convincing but isn’t necessarily accurate.
Always verify important product and regulatory copy independently before it becomes part of your final label.
The same rule applies to barcodes, QR codes, addresses, URLs and other functional elements: use verified information rather than relying on content created inside an AI-generated image.
6. Consider Copyright, Trademarks and Brand Ownership
AI-generated artwork can also introduce intellectual-property questions.
Avoid intentionally asking AI systems to reproduce another company’s logo, copyrighted character, recognizable packaging or protected brand assets for your commercial label.
Copyright protection for AI-assisted work can also depend on the amount and nature of human creative involvement. If intellectual-property ownership is important to your brand, consider getting appropriate legal guidance before building a major brand asset entirely around AI-generated artwork.
The safest approach is to treat AI as one tool within your creative process, rather than assuming every generated image automatically becomes an exclusive brand asset.
7. A Better Workflow for Creating Product Labels With AI
AI can be incredibly useful when it’s incorporated into the right workflow.
Here’s a simple approach:
Step 1: Use AI to develop the creative direction
Generate concepts, backgrounds, illustrations, textures or inspiration that fit your product and brand.
Step 2: Choose your strongest artwork
Select the version that best represents your brand and download the highest-resolution file available.
Step 3: Build the actual label layout
Place the AI-generated artwork into a design application (i.e. Adobe Illustrator, Affinity Designer, Figma, Inkscape, etc.), and add your:
- Logo
- Product name
- Product information
- Ingredients or required copy
- Barcode or QR code
- Contact information
- Other important text
Step 4: Prepare the file for print
Before uploading your artwork, check:
- Final label dimensions
- Resolution
- Bleed
- Safe area
- Color mode
- Font outlines
- Embedded images
- File format
Step 5: Ask for help when you need it
You don’t have to be a printing expert to create a great label.
If you’ve created artwork with AI and aren’t sure whether it’s ready for production, send it to our team. Our Label Experts can help identify potential artwork issues and guide you toward a file that’s better prepared for professional printing.
What File Type Should I Upload for My Product Label?
For the best results, Husky Labels recommends vector-based files such as PDF, AI, PSD, or EPS whenever possible.
High-resolution raster artwork may also be usable depending on the design and intended print size.
Before uploading, make sure your artwork includes the correct dimensions, adequate resolution, bleed and safe areas.
You can find detailed specifications in our Artwork Guide.
AI Can Help Create the Idea. We’ll Help Bring It to Life.
AI gives brands an exciting new way to explore ideas, create imagery and accelerate the design process.
Professional label printing is where those digital ideas become something your customers can actually hold.
Taking a few extra steps to prepare your artwork can make a meaningful difference in the clarity, color and overall appearance of your finished labels.
And you don’t have to figure it out alone.
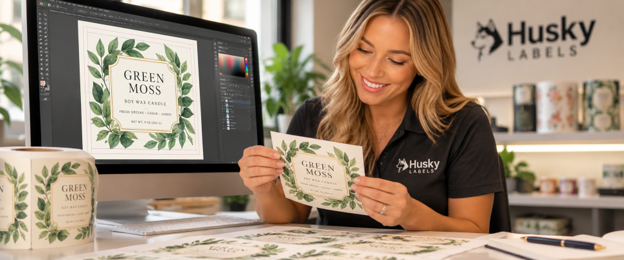
Have AI-generated artwork you’re thinking about using for your labels? Talk to one of our Label Experts. We’ll help you understand what you have, what may need to be adjusted and how to move your label toward production.
Build Your Label Now
Frequently Asked Questions
Can I print a PNG as a product label?
Yes, a PNG may be printable if it has sufficient resolution at the final label size. Because PNG files are raster images, enlarging a low-resolution file can reduce print quality. Vector artwork is preferred for logos, typography and other elements that need especially crisp edges. Contact us if you want us to take a look at your artwork.
What resolution should artwork be for label printing?
Aim for at least 300 DPI at the final printed size. Husky Labels currently recommends artwork between 300 and 800 DPI for high-quality results.
Do AI-generated images need to be converted to vector files?
Not always. Complex illustrations and photographic imagery can remain raster-based if the resolution is sufficient. Logos, lettering, and simple graphic elements often benefit from being vector-based. Contact us if you need help.
Why does my AI-generated image look different when printed?
AI images are generally viewed on RGB screens, while professional printing uses physical inks and print color processes such as CMYK. Some bright screen colors cannot be reproduced exactly in print, so color shifts can occur.
Can Husky Labels help with AI-generated artwork? Yes. If you’re unsure whether your artwork is ready for production, Husky Labels’ Label Experts can help review your file and guide you through the artwork preparation process.