


Artwork Guides
Creating print-ready artwork can be tricky, but we’re here to help! Our artwork guides will walk you through the essential steps for preparing high-quality, professional files that ensure perfect printing results.
These guides cover everything you need to know. They help you set up bleeds and safe zones. They also guide you in choosing the right color modes and file formats to avoid common printing issues.
File Formats
Preferred:
– Adobe Illustrator (.ai, .pdf)
– Adobe Photoshop (.psd, .pdf)
Supported:
– Illustrator (.eps)
– Photoshop (300 DPI+, .eps)
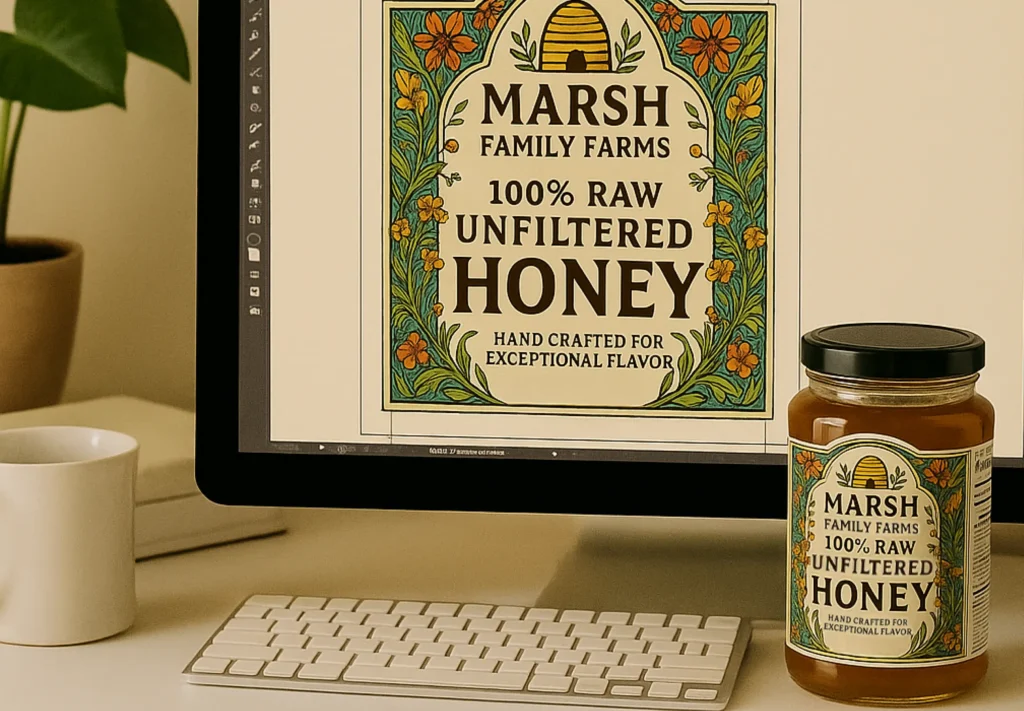
Label Sizing & Bleeds
– Round dimensions to the nearest 1/32″ (0.031″)
– Extend 0.0625” from the trim line
– Example: For a 1” x 3” label, artboard size should be 1.125” x 3.125”
Clear Space/Safe Area
Ensure design elements stay within 0.875” x 2.875” for a 1” x 3” label
Resolution
A higher DPI means a higher resolution and better image quality.
– Create files between 300 DPI and 800 DPI
– Submit vector files for best results
Font Tips & Guides
Select Your Text
Use the Selection Tool (V) to click on the text you want to outline.
Recommended font size:
minimum 5pt (6-7pt for white/light text)
Convert fonts to outlines
Avoid using live fonts
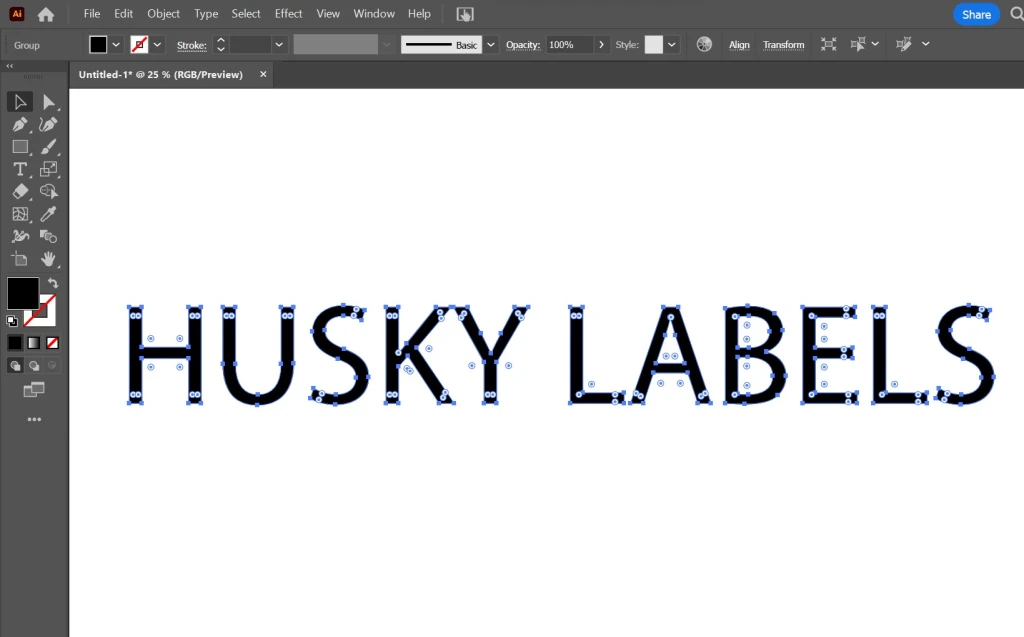
Convert to Outlines
Go to Type > Create Outlines (or press Shift + Ctrl + O on Windows / Shift + Command + O on Mac).
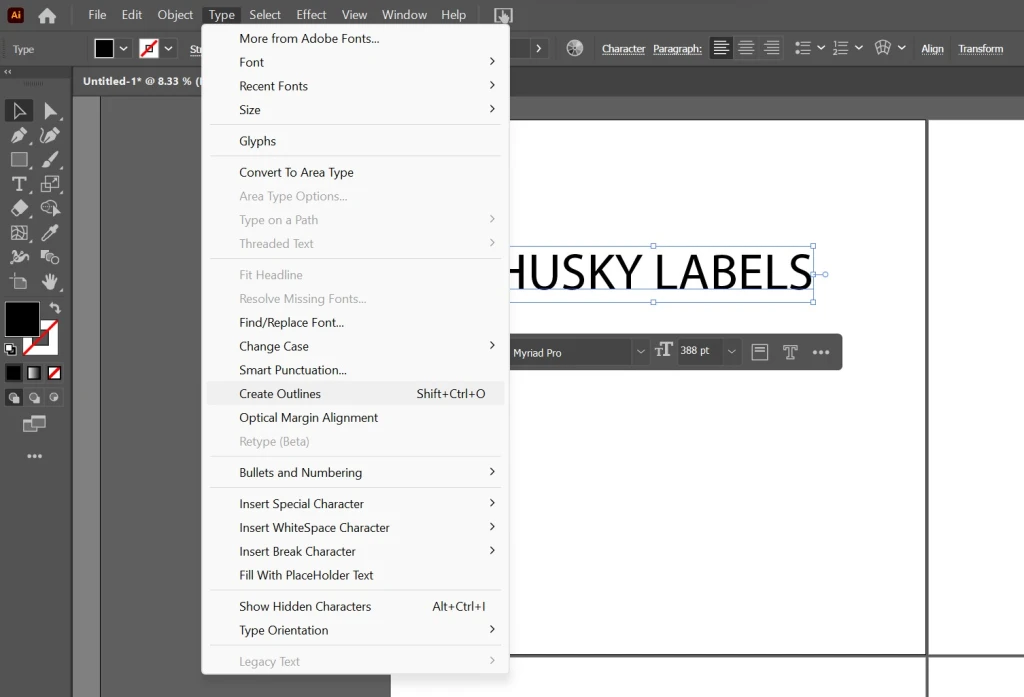
Save Your File
To preserve the outlined text, save your file as a PDF, AI, or EPS format before sending it to print or sharing.
Questions about your label needs?
Our White Glove Customer Service team delivers tailored, professional support.
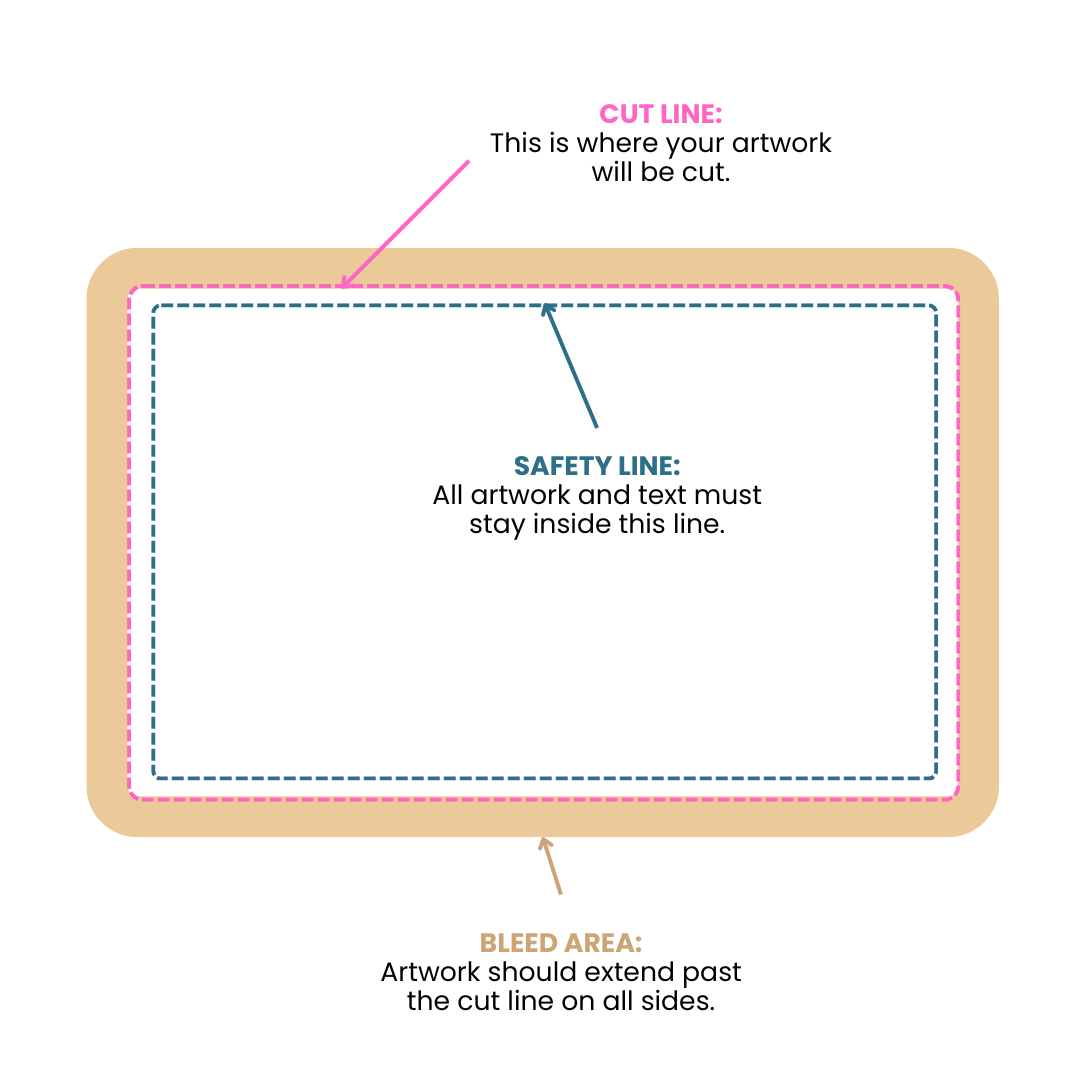
Tips for Creating Print-Ready Files with Bleed
Bleed is the extra area beyond the trim edge of your design to ensure no white borders appear when cutting. Standard bleed is 0.125 inches (3mm) on all sides.
Illustrator & InDesign: Set bleed in the New Document dialog or go to File > Document Setup and enter 0.125” for bleed.
Photoshop: Add 0.125” manually to your canvas size (e.g., for a 5×7” print, make the file 5.25×7.25”).
Text, logos, and important elements should be at least 0.125” (3mm) from the trim edge to prevent accidental cropping.
Background colors and images should extend all the way into the bleed area to avoid white edges after trimming.
For accurate printing, always design in CMYK (not RGB). Convert colors before exporting your final file.
Convert text to outlines (Illustrator: Shift + Ctrl + O / Shift + Command + O) and embed all linked images to avoid missing assets.
When saving, choose PDF (Print) > Marks & Bleeds and check Use Document Bleed Settings. Enable Trim Marks if needed.